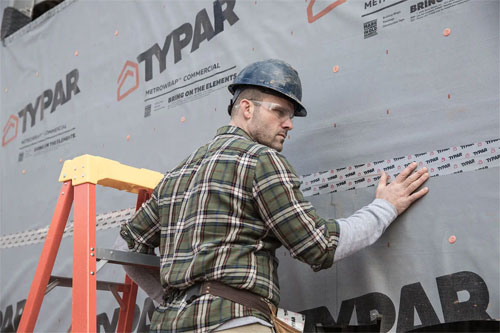
House Wrap Installation Best Practices

House wrap is a critical component to building a long-lasting, high-quality, wall system. As the vapor barrier, it is key to preventing water ingress that can damage the components of the interior wall system. For a wall system to be successful, house wrap needs to be installed carefully, per the manufacturer’s recommendations; however, as with most facets of construction, there is more to consider than just following the installation manual.
There are five crucial best practices that you should keep at the forefront of your mind during every house wrap installation and inspection.
- House wrap should be installed permanently: This may seem like a no-brainer, but the house wrap installation is not an area where you should cut corners. One mistake here could lead to thousands of dollars in damages in the future. As such, approach every installation with permanence in mind. The material you install today should be functional and intact for years to come. In the case of TYPAR® Weatherization systems, a properly installed wrap is warrantied to last the structure’s lifetime. This means that you should use the fasteners that come with the product, follow the installation instructions to the letter, and ensure that every seam is properly sealed. Additionally, select a material that can withstand the rigors of the application – whether that is prolonged exposure to weather during construction or exposure to water vapor from the interior wall system. House wrap must last the lifetime of the wall system, and the only way to accomplish that is to make sure the proper material is properly installed.
- Install house wrap like shingles: Just like shingles overlap to shed water away from a roof, house wrap should be overlapped so that each layer overlaps the one below it. When installed properly, this design will shed the water away from the interior of the wall system and prevent water from penetrating the system at the horizontal seams.The shingle effect also applies to areas that are flashed, and corners.
- Seal each layer: Layering the house wrap system is effective for shedding bulk water, but it is not sufficient for preventing water vapor ingress. Each layer should be tightly sealed with sealing tape at every seam and penetration. This aspect of an installation is critical to ensuring the integrity of the vapor barrier. Using a compatible tape for the weatherization system is crucial to ensuring a proper seal.
- Replace or repair damaged product: While you may be able to seal some penetrations in the house wrap with tape, that shouldn’t be your automatic response. If there are tears or holes in the house wrap that are larger than the width length of a piece if tape, properly patching or replacing the area with an additional layer or wrap is required. Holes, even those that have been sealed, become weak points within the system where water ingress may occur – and it is far less expensive to replace a single sheet of house wrap than it is to replace a damaged wall system.
- Install the house wrap tightly: Loosely installed house wrap is a liability in terms of proper installation and long-term performance. It is not only difficult to seal saggy house wrap due to its mobility, but it also allows for air seepage between the vapor barrier and the house, reducing energy efficiency and creating the potential for moisture condensation beneath the vapor barrier.
While the five practices listed above are some of the most important steps in a house wrap installation, there aren’t any steps that should be skipped or ignored. Properly following the manufacturer’s installation instructions is the key to ensuring the long-term success of the wall system. Overall the success of any house wrap system relies on properly installing the proper product – both variables that are in your power to control and deliver.
